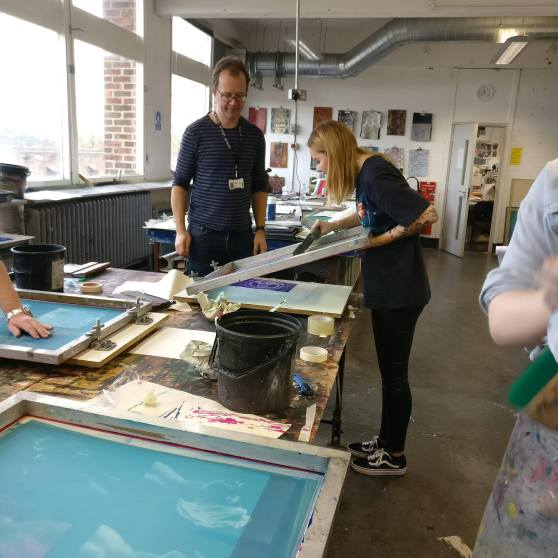
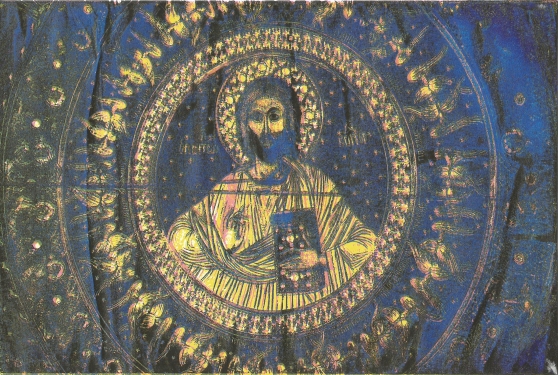
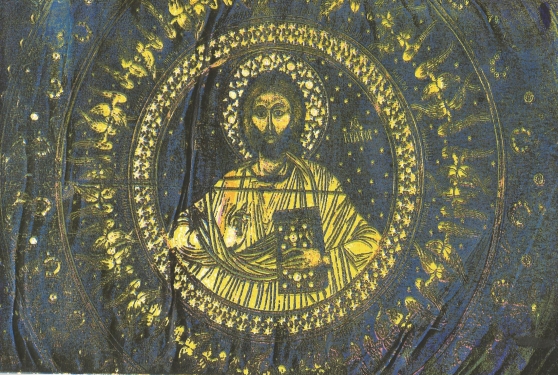
In today’s Workshop we was shown how to use the silkscreen process of printing. Before the workshop we had to prepare our image in Photoshop by splitting up the colour layers and printing them onto acetate. Below is the guide we was given to print out our colour Image.
To Print Cyan
Image – Mode – CMYK color (layers now separated)
Select Channels (next to layer in Dialogue box) – Choose Cyan
Image – Mode Bitmap – Discard Channels – Yes
Resolution – Output – 300dpi – Method – Halftone Screen
Frequency – 30 – Lines per inch
Angle – 15
Shape – Ellipse – Ok
File – Print with preview – Registration marks – Print
Edit – Undo – Until full colour image is back.
Now repeat the Process for the other Channels changing the angle for each Channel as follows –
Cyan – 15
Magenta – 45
Yellow – 75
Black – 75
Below are the images of the colours separation printed onto acetate.
- Cyan
- Magenta
- Yellow
- Black
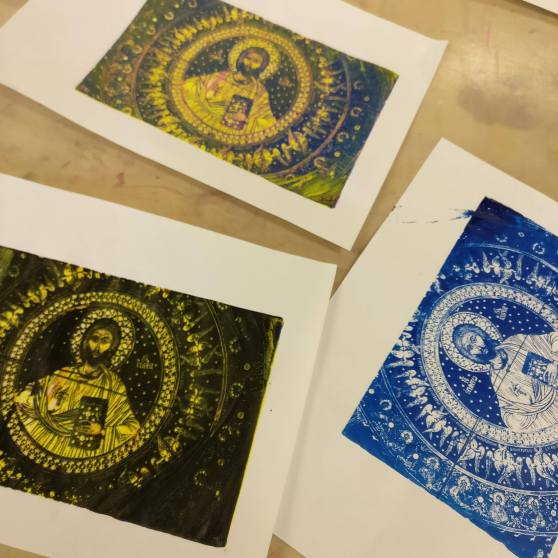
After we printed our images onto acetate, they were given to a technician named Simon who turned our images onto stencils for the workshop. Starting with Cyan, we used acrylic paints and a squeegee (the same colour to match each colour layer of the image) and printed our image, layering each different colour layer on top of each other until all the colours worked together to produce an image. My prints can be seen below.


